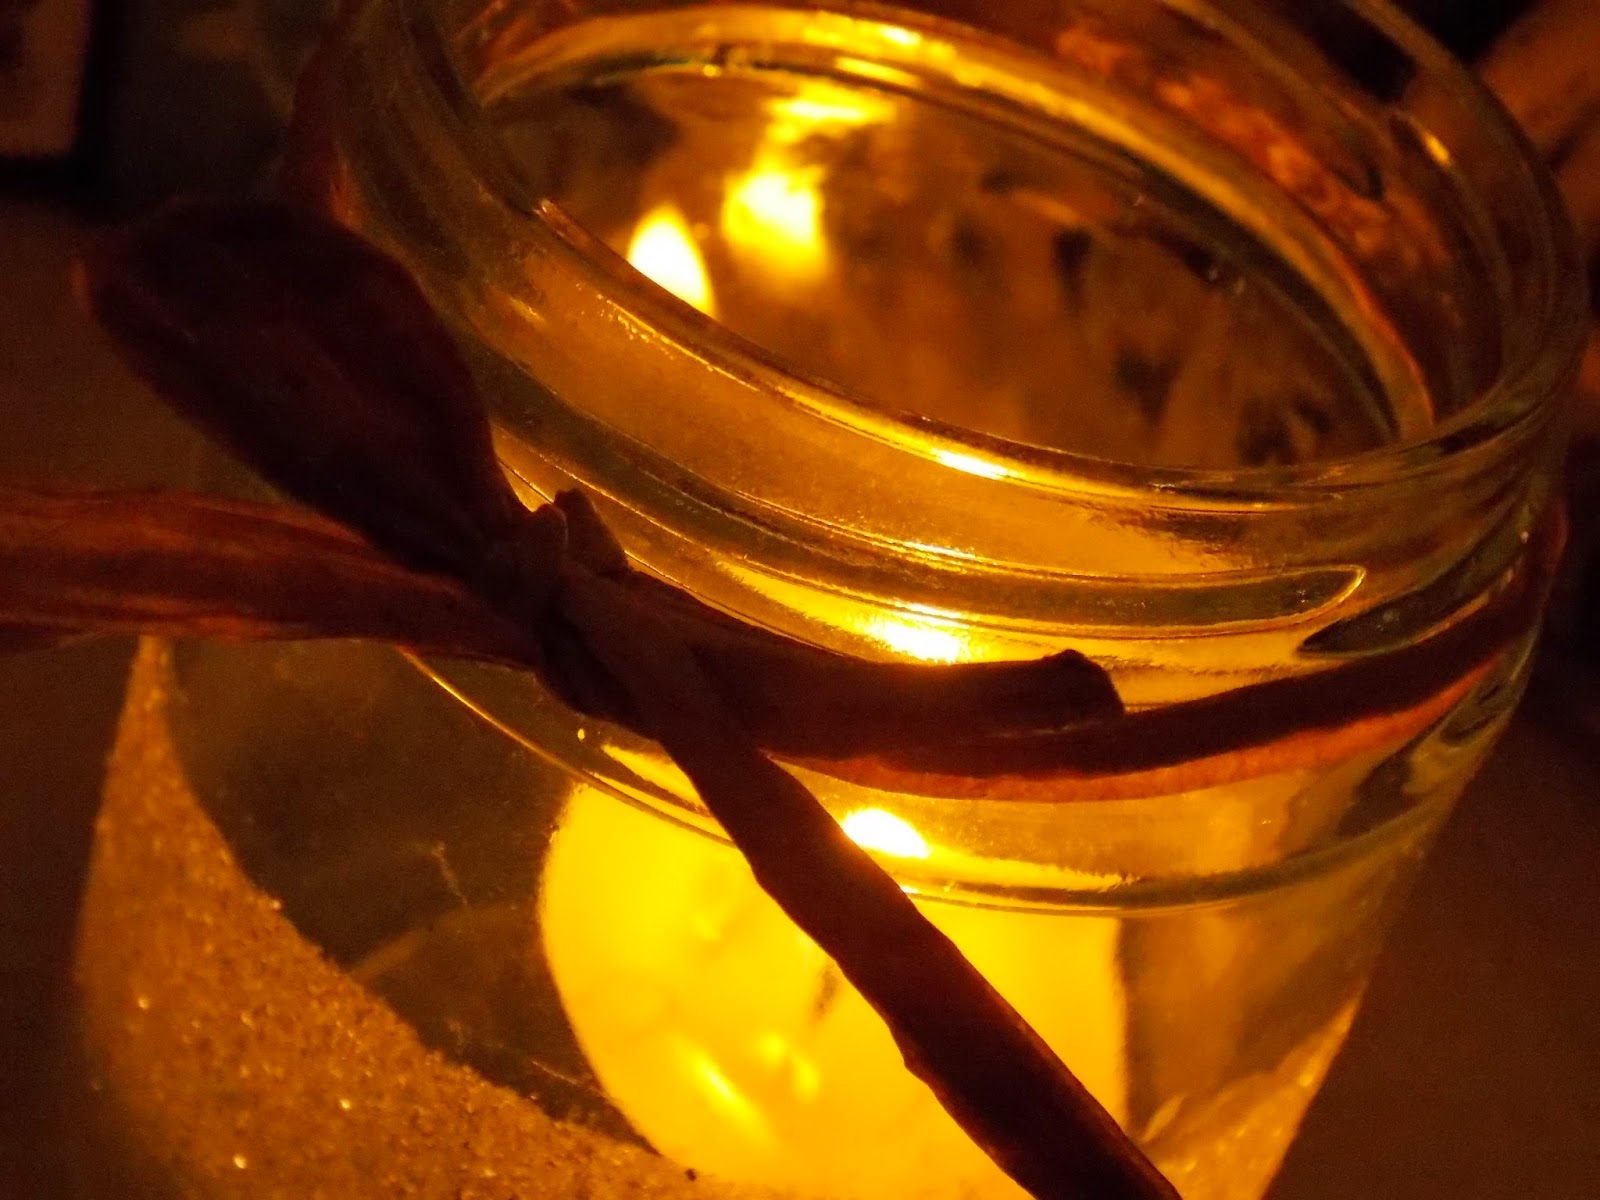
Hey everyone. Somehow, miraculously, it is Christmas Eve and
I can’t quite believe it. The festive season is drawing to a close and it’s
nearly the big day. That warm Christmassy feeling is holding my heart and I can’t
quite well. But, for now, I thought I would share with you my five favourite
parts of Christmas- because it’s Christmas Eve and a Christmas blog post is
essential I think.
Showing posts with label christmas. Show all posts
Thursday, 24 December 2015
Sunday, 20 December 2015
Let It Snow - Book Review | Day 8: 12 Days Of Blogmas
Hey everyone. With less than a week till Christmas, there
are only so many things you can do to get festive: stuff your face with festive
food, watch back to back Christmas movies or spend far too long Christmas
shopping. However, one thing you may not have thought of is a Christmas read. I
have been super busy lately, so I haven’t actually finished the whole of this
book but I thought I’d tell you about it, so you can give it a read (or start
to) this festive season.
Saturday, 19 December 2015
Festive Outfits | Day 7: 12 Days Of Blogmas
Hey everyone. Today I decided that I would do a little
festive fashion post. At this time of year, when faced with your wardrobe each
morning, you have two choices- a, somehow find a super wintery fashionable
outfit, or b, go for a tacky yet cute Christmas look- aka the Christmas jumper
was born. I love Christmasy outfits- I love to wear them when I’m in a festive
mood, so here are some that I’m loving.
Thursday, 17 December 2015
My Christmas Bedroom + Decoration Tips | Day 5: 12 Days of Blogmas
Hey everyone. So let me start by saying sorry- I know this
is late up, but I’ve had school concerts on this week and haven’t had time
until now! Today, day 5, I am going to be showing you my festive room and how I’ve
made it look Christmassy!
Tuesday, 15 December 2015
Christmas Trip To London | Day 3: 12 Days Of Blogmas
Hey everyone. So on Saturday, I went down to London with my
family for our annual London Christmas trip. I had a lovely day and I thought I
would share some festive photos from my day.
Monday, 14 December 2015
The 2015 Christmas Party Look | Day 2: 12 Days Of Blogmas
Hey everyone. So it is day 2 of the 12 days today and I
decided that it was time to show you some Christmas themed outfits- starting
with a festive party look. I am obsessed with this outfit and think it is
perfect for the Christmas party season.
Labels:
12daysofblogmas,
christmas,
fashion,
my outfit,
party
Sunday, 13 December 2015
Christmas Tag + Announcement! | 12 Days Of Blogmas
Hey everyone. So today I have an announcement. For the 12
days running up for Christmas, I will be putting up a blog post EVERY DAY. I
did Blogmas last year but life has been super busy this year and last year was
kinda stressful, so I decided I’d do the 12 days of Blogmas. Hopefully, these
posts will get you excited for Christmas and give you some ideas about festive
outfits, Christmas makeup and maybe some inspiration.
Tuesday, 24 November 2015
Teen Girl's Gift Guide 2015
Hey everyone. So it’s that time again- bitter cold winter days and whispers of festive music fill the air… Christmas is on its way. Yes I know it’s still November but this week, for some reason, has been the week of the Christmas Gift Guides. I always love these posts and videos, so thought this year I would create a post of my own.
Sunday, 21 December 2014
Christmas Time Photography | Blogmas Day 21
Hey,
So today I just wanted to share some photos that I took
recently. I hope they put you in a festive mood. It really is a beautiful time
of the year.
To find out how I decorate my room click here.
To find out how I made the glitter tea lights click here.
Yes that is a cost coffee cup you spy, I just had to keep it as it's so cute!
The main family tree is themed around gold and teal as our main room is teal coloured.
I hope you liked my photos, and I would love to hear your
comments on having photography type posts on my blog as well. Have a great day,
only 4 days to go!
Friday, 19 December 2014
My Travel Diary: London at Christmas | Blogmas Day19
Hey,
So I’m really excited for this post because when you read it
I will finally have got off school today for the holidays. I can finally sleep
in the mornings and not have to wear uniform for two weeks! Time to relax and
enjoy the last few weeks of the year!
Today's post is part of my travel diary because last Saturday, my family and I went to London on our
annual Christmas day out. We always go, every year, because it is so festive
and everything looks so beautiful at this time of year. The shop windows are always so amazing and Christmas-y and the whole spirit of the day has become a tradition on my family's calendar.
We visited Harrods, Hyde Park’s Winter Wonderland, Covent
Garden, Trafalgar Square and also did a spot of shopping in Oxford Circus.
Everything was so lovely and we also had an amazing lunch at Strada.
Here are some of the photos I took, I hope you enjoy them.
And that’s all. I had an amazing day and if you get a chance
to see London this Christmas I would really recommend it. I had an amazing day
and it has made me soooo excited for Christmas. Less than a week to go now,
have a wonderful day,
Labels:
christmas,
lifestyle,
london,
my travel diary,
Winter
Tuesday, 16 December 2014
Christmas Party ~ Make Up Look| Blogmas Day 16
Hey,
So today I wanted to show you a makeup look I have been
loving. Perfect for Christmas parties, this simple eye and lip combo will make
sure you are ready for the party season. I based this look around a bold lip,
using bronze/ gold tones on the eyes and a dark raspberry shade on the lips.
1.
To begin, complete your normal everyday base
makeup. Today I just used concealer and powder, but you could contour and use
foundation if you wanted.
2.
Next I begin on the eyes. I used the Sleek Au
Natural palette to create this exact eye makeup, but you could use similar
browns. I used the shade ‘Honeycomb’ all over the lid, which is a yellow toned
brown.
3.
Next I take my colour infallible eyeshadow, in
the shade ‘Hourglass Beige’. This is a lovely golden eyeshadow, and remember a
little goes a long way with glitter shadows. I tap this all over my lid, on top
of ‘honeycomb’.
4.
Now I take the shade ‘Conker’ which is a
shimmery brown and I apply this to my crease. I blend the three eyeshadows
together to create a smoky eye look.
5.
Take an eyeliner of your choice and create a
small cat eye look. I kept the flick quite subtle because, for me, this look is
all about the lip colour. I also apply a bold mascara, and I choose to use my
Benefit They’re Real mascara. This one is amazing for parties because it lasts
a long time and makes my lashes look almost false.
6.
Now I move onto lips. I choose to moisturise my
lips with my Nivea lip butter in the flavour macadamia and vanilla. Then I
choose not to line my lips but go straight in with the lipstick. I love this
lipstick shade because it is so wintery but is different to the more common
bright red or dark red lips. This warm raspberry is shade 30 from the Kate Moss
lipstick range and I adore it!
And that is the Christmas look I have created this year. I
hope you liked it and will may be try it out for one of your Christmas parties!
I really enjoy making these types of posts, and I hope you enjoy reading them
as well! I hope you have an amazing day- only 9 days till Christmas!
Thursday, 11 December 2014
Decorating My Room For Christmas | Blogmas Day 11
Hey,
So now Christmas has truly rolled around it comes to the
time when you must get into that festive mood and dress the house with
Christmas decorations. For me, the best part of decorating the house is
decorating my bedroom so today’s post is going to be about just that. I wanted
to show you how I decorate my room and some tips to creating the best festive
environment.
1.
Fairy Lights. At the moment, everyone seems to
be using fairy lights in their room as décor anyway, but I think adding some
twinkling lights to your room at this time of year is essential.
2.
Candle and tealights. I love having scented
candles and tealights in my room at this time of year. For scented candles, I
love anything sweet or Christmas-y, and burning them in my room means that I
always get a waft of warm scent every time I walk in and out my room. I have recently
done a tealight DIY and I did one with tin cans earlier in the year, if you
fancy doing a DIY project.
3.
Bed. I love to cover my bed with a few festive
cushions and toys around Christmas because every time I look at it it makes me
feel so Christmas-y. Adding Christmas cushions and toys also make my bed even
more comfy and cosy, which is essential for winter nights.
4.
I love to find cute unique decorations to put
around my room in Christmas time, and these can range in price and quality. For
example I have recently bought this beautiful golden glitter star, seen in one
of my photos, and I adore it. The best thing about it is that it was just 99p
from a local 99p store! Another example is a wooden reindeer I bought at a
school DT fair, it was cheap and is totally unique, so I love it.
So that’s all I wanted to say today. I hope you are feeling
festive and have had some inspiration from my Christmas room décor. I hope
everyone has a wonderful day,
Saturday, 6 December 2014
My Favourite Christmas Youtubers | Blogmas Day 6
So it’s Blogmas Day 6 and all I can say is how much I am
loving Blogmas! I have loved reading other blogs and as blogging is one of my
favourite hobbies, I have loved writing to. If you are also doing Blogmas,
please comment down below because I’d love to see your posts!
As I am loving Blogmas and Vlogmas so much, I thought I
would talk about my favourite vloggers on youtube at this time of the year.
·
Becca Rose-
I love this youtuber so much! Becca Rose is a beauty/ fashion blogger but
stands up for body confidence and being yourself. She has a great style and her
everyday vlogs are amazing.
·
Gabby/
Velvet Ghost- Again this is one of the few vlogmas posts I try to watch over
decmeber. She’s so funny and I always love her vlogging style.
·
Fleur de
Force- I love all of Fleur’s videos around Christmas time, her Christmas
gift guide and themed videos are really interesting and her vlogs are great.
·
Zoella-
She may be one of everyone’s favourite youtubers but that’s because she is so
good. I can’t always watch her vlogs because they are always a little long, but
when I do I can’t stop laughing.
·
Sprinkle
of Glitter- Louise is one of the most inspiring person on the internet. Her
posts are filled with motherly love and I always love to know her opinions
because I know they’re true and reliable. If you haven’t seen her videos yet
then I recommend to watch them because she is honest and does a lot of videos
about being happy in yourself.
Sorry this has been such a short post, but some of my posts
will be so I get the 24 posts needed. I hope you liked reading about my
favourite Christmas youtubers, if you have any other recommendations than
please let me know in the comments below. I hope you all have a wonderful day,
Labels:
blogmas,
blogmas 2014,
christmas,
lifestyle,
youtube
Thursday, 26 December 2013
Christmas nail art
So yesterday was Christmas day, i hope it was a good and happy for everyone, those who celebrate it and those who don't. I'm sorry because I was meant to get this post up earlier but ive been really busy and stuff. Although the objective of the post is gone, I thought you'd be interested and inspired by the work of layering and chose of tool and so on.
I did two types of nail art over the festive period, as well as just plain colour or sparkle polish, and these were a Christmas pudding nail and reindeer nails. Please read and look below for how I completed these.
The first I'll show you is the Christmas pudding. For this you will need brown, white, clear/ nail hardener, green and red nail polish as well as a paintbrush. I use a small pain brush to get the detail I want, but be warned because this does ruin your brush for actual art and painting but it can be reused every time you need it for painting nails.
Firstly, paint an even coat of brown nail polish onto your nail. It is your choice if you want to put of clear/ nail harder on before this- which is what I do. I also put a coat on top of the brown.
The next step is to use your brush and the white nail polish to create the iconic drips down the pudding. This is quite difficult to design, especially on the opposite hand, but you'll get there.
Next take your brush and dip it into the green. You are trying to create holly so you could either spend time trying to make the points or just green blobs. Taking time will make it look more accurate.
Now you can add the berries, i did not have any red nail polish, so used berry/ pink instead. Simply make three small dots or one big dot to create your holly berries.
To finish let the paint dry and then put a layer of clear/ nail hardener over it. This will hopefully prevent chipping.
The next designs I created where reindeer. I will explain how to make Rudolph as you can create the other reindeer by just swapping the red nose for a gold or darker brown. You will again need a paintbrush, red, brown, black, white, clear/ nail hardener and a background colour of your choice- i chose glitter.
Begin by painting your background. I choose glitter nail polish but you could choose any colour that doesn't distract form the reindeer.
Next paint a small oval to triangle type of shape, look in photo below. This will be the head of the reindeer.
Next add two small lines coming off the head, these will be its ears.
After this, use the paintbrush and black to create the antlers. Be very careful as this requires a lot of detail and patience. I found this step went wrong but you can fix it a little.
Then, add two white dots as eyes.
When this dries do two smaller black eyes, these will make the reindeer look a lot more real.
To finish the reindeer add a blob onto the end of the nail. This will be the nose so use either red or gold, depending on the reindeer you want to.
Lastly, when the reindeer are dry add a thin layer of clear/ nail hardener to prevent chipping.
I hope you liked this, sorry its late. I am also hopping to do some more updates on my christmas/ party wear soon. Love life, live on and be happy.
I did two types of nail art over the festive period, as well as just plain colour or sparkle polish, and these were a Christmas pudding nail and reindeer nails. Please read and look below for how I completed these.
The first I'll show you is the Christmas pudding. For this you will need brown, white, clear/ nail hardener, green and red nail polish as well as a paintbrush. I use a small pain brush to get the detail I want, but be warned because this does ruin your brush for actual art and painting but it can be reused every time you need it for painting nails.
Firstly, paint an even coat of brown nail polish onto your nail. It is your choice if you want to put of clear/ nail harder on before this- which is what I do. I also put a coat on top of the brown.
The next step is to use your brush and the white nail polish to create the iconic drips down the pudding. This is quite difficult to design, especially on the opposite hand, but you'll get there.
Next take your brush and dip it into the green. You are trying to create holly so you could either spend time trying to make the points or just green blobs. Taking time will make it look more accurate.
Now you can add the berries, i did not have any red nail polish, so used berry/ pink instead. Simply make three small dots or one big dot to create your holly berries.
To finish let the paint dry and then put a layer of clear/ nail hardener over it. This will hopefully prevent chipping.
The next designs I created where reindeer. I will explain how to make Rudolph as you can create the other reindeer by just swapping the red nose for a gold or darker brown. You will again need a paintbrush, red, brown, black, white, clear/ nail hardener and a background colour of your choice- i chose glitter.
Begin by painting your background. I choose glitter nail polish but you could choose any colour that doesn't distract form the reindeer.
Next paint a small oval to triangle type of shape, look in photo below. This will be the head of the reindeer.
Next add two small lines coming off the head, these will be its ears.
After this, use the paintbrush and black to create the antlers. Be very careful as this requires a lot of detail and patience. I found this step went wrong but you can fix it a little.
Then, add two white dots as eyes.
When this dries do two smaller black eyes, these will make the reindeer look a lot more real.
To finish the reindeer add a blob onto the end of the nail. This will be the nose so use either red or gold, depending on the reindeer you want to.
Lastly, when the reindeer are dry add a thin layer of clear/ nail hardener to prevent chipping.
I hope you liked this, sorry its late. I am also hopping to do some more updates on my christmas/ party wear soon. Love life, live on and be happy.
Subscribe to:
Posts (Atom)